Wednesday, October 15, 2008

Axel installation

After all the parts were rounded up I invited a few of the guys to come over, pop a cold one, and help with the installation of my new axel and spindles. The girls all had a make up party they were going to so this was the perfect excuse to get away.

Everything went very smooth, with no major problems. We debated on how to do it, but eventually decided to not remove the leaf springs and just man handle it in. Thank you Paul for all the heavy lifting! (Russell, we missed you on this one!)

Thank you to Paul, Boe, my brother Joel, Jesus, and all the wives for trusting me not to hurt your husbands.


We let this one take off his helmet for the day.


I gotta say....she's starting to look like a muscle car. I LOVE the new stance. This is a whole new car.


Tuesday, October 7, 2008

New Parts

With my shiny new rims and tires sitting in the garage I had a problem: My current tires were all 4 lug, and connected to Ford's smallest differential, the 7.something. I knew that I was going to need to upgrade all spindles if I was going to use my new rims, or build any sort of horsepower later on down the road.

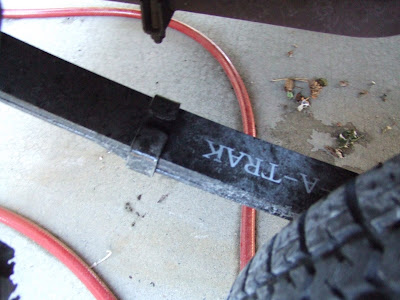
Sounds like a job for Craigslist. After keeping my eye open for a while I stumbled upon an ad for some used Maverick parts. It was an 8". I called the guy and talked to him about it.

I was disappointed to learn that the stock width of a 68 is 54.25" wide, backing plate to backing plate. The Maverick's is only 51". I would loose approximately 2" on each side. Then it hit me: The spring perches were the same at 43" center to center, and my Crager rims were 4" wider each. After some crawling around underneath the car with a tape measure I found that I had plenty of clearance, and with the extra width a stock axel would make the tires stick out of the side too far. Not only would this axel work, but it was perfect for what I needed.

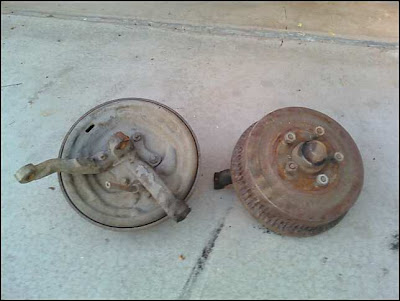
$240 brought it home along with a couple of 5 lug spindles he had. The diffy came with drums and cables, leaving nothing more that I would really need.


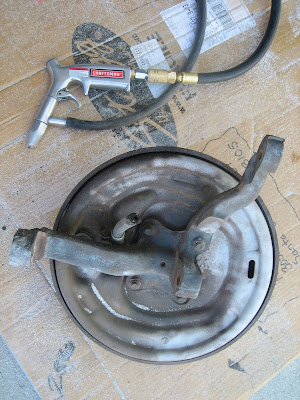
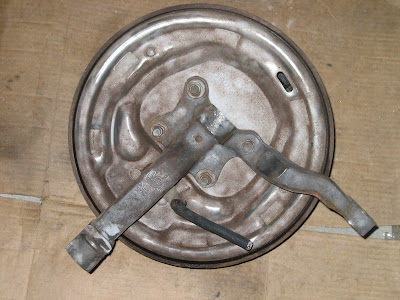
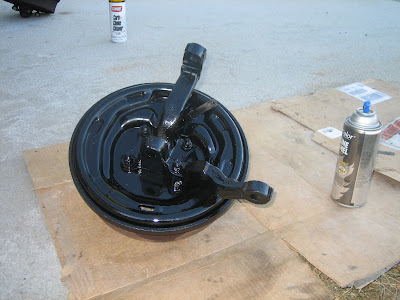
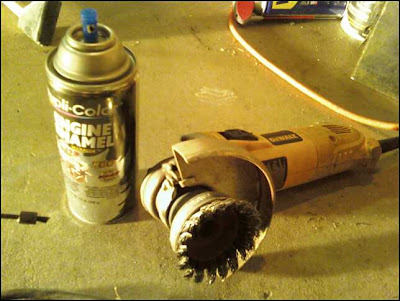
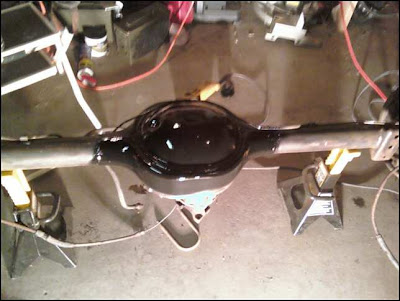
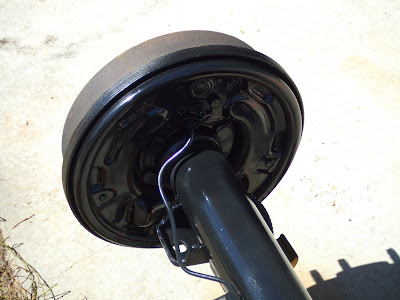
The first step was preparing it to paint. A combo of a wire brush, degreaser, pressure washer, simple green, and a sandblaster eventually did the job. It was a lot of work, but it was worth it. All painted up it looks very nice


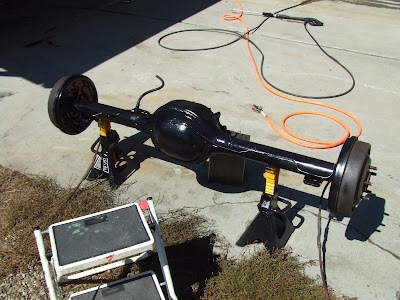
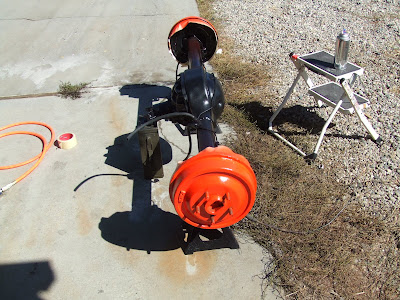
I painted all the drums orange, but after much humiliation from my fiance, friends, strangers, and "car people" I easily broke down and painted them back to a flat black.


Here are the spindles that came with it:


Sag

No use in denying it. When these old girls turn 40, like my '68 did this year, they start to sag in places. Honestly it was probably the biggest thing that bothered me up to this point, and one of the first parts to order.

What do you do about it? Grab-A-Trak had a solution. I ordered the set for about $280 from Mustangs Plus and three days later installed it myself. I was not sure which to go with, but finally settled on the 4.5 leaf, and would definately do it again. The back end sits at least 3" higher, and the ride is a bit more rough (which I like) and a lot more solid. Best upgrade yet. (Of course I have not put on my tires yet!)


Sunday, September 28, 2008

Chrome

After watching Craigslist everyday I found an ad that advertised "Crager SS rims. Price negotiable." I did not figure I could afford them, but I called anyways. I was shocked. They are a set of 14x7 and 14x10's with Goodyear Eagle radials on them. And the price? $10 a peice. We made a trip to the ATM, and then to Mountain Home  and picked them up.

They were kind of dirty, but a little bit of polish cleaned them right up. You can see the difference in the photos. The tires are in good shape with plenty of tread left, and the wheels cleaned up very well. There is some rash around the lug nuts, but the rust washed right away. I am very pleased.

Now this justifies my next project: 5 lug conversion.


Tear Down

This last month I have finally started tearing her down. Most of the chrome has been removed, the vinyl top has been peeled, and I have started sanding in areas. New chrome has been ordered for the M U S T A N G for the back. I am also planning to replace all the trip peices on the back.


Crunch

After getting her all cleaned and shined up as best I could short of a new paint job I took it to the 2008 Eagle Christian Church Cruz-In car show. But not before I backed into my boss's brand new F-250. It dinged his bumper and only took out my passenger side quarted panel extender. $50 got a brand new replacement. Too bad, my car was looking the best it ever had and I had to show off a crunched panel the whole show!


Home Coming

These are the photos that I took just before I brought her home. I took photos mostly of her flaws and areas that will need work. All the rust I have uncovered so far is seen here.


Some of the interior chrome is pitten and will need to be replaced. I have already ordered new door handles that are perfect from eBay for under $50.


After some wax she was starting to look much better. These photos are after spending about an hour on each panel. You can see how it brought the color back on the photo of the hood. I used a Meguires cutting wax with a 6" buffer.

I am not a real fan of Armor All for classic cars, so I got some plastic cleaner that was advertised not to crack after long use, and it has worked well. It really helped bring the vinyl top back to life.